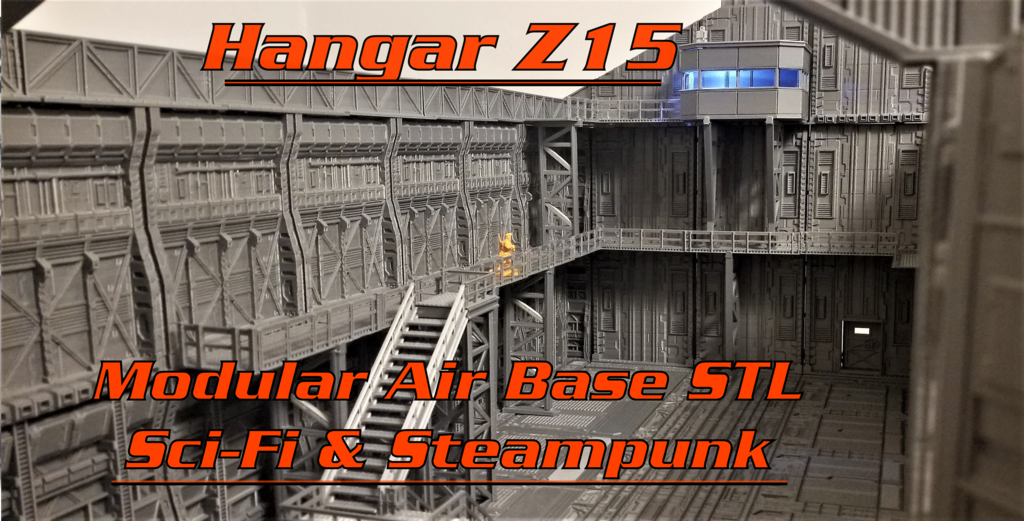
Hangar Z15: 3D Printable Modular Air base for 28 mm Wargames
Created by Archangel Design
Modular STL set & airship hangar for Steampunk Fantasy and Science Fiction 28 mm to 32mm Wargaming
Latest Updates from Our Project:
Update 4 - New Interior Pieces - Works in Progress
over 1 year ago
– Thu, Oct 27, 2022 at 12:55:26 AM
Hi everyone!
Hope you are all having a great week! I have finished test printing some more of the interior pieces last night, and wanted to provide a quick update today.
First printings of all the scatter and interior detailing parts.
Personally, as small of a thing as it is, I have always wanted a shipping container that actually opened up so I could hide things inside of it, so that has been my main work in progress this week. I still have some adjustments to make, but it is shaping up nicely!
Shipping container - Work in Progress
Tonight, I am going finish another test print on it as I needed to adjust the hinges earlier this week for better range of motion. I am really excited about that piece in particular though because it will open and you can access it for both storage and for hiding minis in it.
new hinge testing for opening container
I printed everything you see here at scale with my FDM printer. They're really hard to see in the photos due to their size and PLA color glare, but my ventilation holes on the electrical boxes do appear flawlessly even when they are scaled very small in stock Cura settings with .04 nozzle. So I think even at these smaller sizes, you'll get the full detail quality with no need to really mess with layer height.
My quick interior detailing attempt - notice the ladder and other catwalks have no been mounted on the left side.
I have a few more pieces to work on, and then I have some other cool ideas I might be able to add before we close out the campaign as well!
A full birds eye shot of the interior
---
Also, as a side note, I will be using this hangar for a few scenarios I personally had in mind in both Sci-Fi mecha and for my airships. For those who are planning on some varied science fiction settings, I saw a really cool STL Kickstarter on here that is running this month as well, and I wanted to do a shout in my update because it fits so nicely with the hangar.
Pharaoh's Workshop is offering a beautiful little wasteland and radio tower terrain set, and it even includes some classic Roswell style gray aliens and saucer style UFOs.
I myself had considered making radio towers for the exterior as well as some very similar scatter and elevated terrain pieces, so the work they have done over here is really a great fit to expand play to the outside and still have some similar features. If you have time, swing over and check out their awesome campaign page!
That is everything from me today, but I will have more to share in the coming days as I continue to work on the interiors and I might have time to do a little something extra, so stay tuned! Thank you all! Hope you enjoy the look of everything and how it is all coming together!
Sincerely,
Michael
Day 7 of 25 - Interior Stretch Goal Progress
over 1 year ago
– Fri, Oct 21, 2022 at 11:27:21 PM
Hey everyone!
Hope everyone is doing well! We are now about a week into the campaign and I just finished printing some new interior pieces this afternoon. I was really excited with how they turned out, so I wanted to send an update this evening. There are some changes that were made to make everything more stable to avoid glue, which I will showcase and explain below in more detail.
Optional 14mm LED roof section. My support trusses are on backwards due to my excitment assembling this, the truss detail is supposed to be on the sides.
The one I was most excited to see was the little operations room, which turned out nicely. I didn't notice my support truss parts were on backwards here until I started getting my photos prepared for the update.
Darkness and the glow of the LED! Using light fixture will cover the metal end of the LED if you want to hide it.
With that said, I want to also let you know during testing this week, the original support structures I made for the mounted sections are just not capable of keeping the catwalks secure and supporting the weight of the operations room at this height without glue. I did not want to glue everything so I had to change the design on these. I made all new ones that work much better.
New clip on support trusses to mount catwalks without glue
My redesign on the new support truss parts allows them to physically clip to the catwalks and the operations room. These work great and provide true stability outside of just gravity in the parts used for elevated play. As an added bonus, the new ones are smaller and keep more space on the floor plan open as well.
Third floor and second floor mounting trusses are included for the operations room as well as a flat roof without LED option.
For the operations room my new supports work well enough, but the height still worries me, so I did use two dabs of hot glue in the peg holes just to beon the safe side since I will be using it and removing the roof frequently.
1.75 mm hinge door and interior flooring and walls
If you want a third floor mounted room that is extra secure I do recommend you add a little adhesion if you plan on using it for play. It is fairly heavy and could break other pieces if it falls. My main goal is to ultimately break this entire structure down for storage when not in use. This section is only mounted to the back center wall piece, so it worked out nicely.
Full shot of the current progress on the interior sections.
As for the old support columns, I have been trying to use these parts since I started laying the foundations for the whole project. Originally they were designed for a different roof plan, but I altered that design for the opening style now present. I then repurposed them to the old failed support columns.
Original Roof Truss and Support Columns - Need repurposed
I have even more of these truss pieces than I have shown in the campaign graphic, but I just haven't been able to use them effectively in the design. Once everything else is completed, I am going to attempt to redesign them again and try to make them connect together for a sort of custom modular layout for scatter, or blocking line of sight.
If you also like the aesthetic aspects of them, you can use these for some nice diorama pieces as well. I will be including them, but they will be used differently than originally intended. This was a very large update for the first week, but I hope you like the progress I am making on this one. My deepest thanks to every single one of you who has backed this project; it means so much to be able to continue working on this epic build and share it with all of you! Stay tuned for some new pieces on our next one and have a wonderful weekend!
Sincerely,
Michael
Quick Assembly Guide For Reference
over 1 year ago
– Sun, Oct 16, 2022 at 08:37:47 AM
Based on a backer question, I am going to include the quick assembly guide I have made. The quick photo guide is part of a notes package included with other assembly instructions and optional pieces not presented in these quick renders. This was something I used myself to keep track of what parts I needed to print, and what I had already completed as I worked on this over the summer.
NOTE: EX3 is frame style for the EX3 Style Wall pieces so they match the bottom. Also, I have since added truss sections to the bottom of the roof panels in roof plan 2, not depicted in this quick photo guide. The truss sections help hold the roof panel pieces together and also add an extra visual layer to the underside. I hope this better illustrates how the walls and floors work together and how they can be customized based on the design.
Floor Plan
First Floor
Second Floor
Roof Wall - Roof Plan 1
Roof Brackets and Paneling - Roof Plan 2 (Please note - Underside truss not shown - parts modified)
Funding Goal Met! Thank You! - Update 1
over 1 year ago
– Sat, Oct 15, 2022 at 03:48:34 PM
A big thank you everyone who has supported this project today! Your support goes a long way in keeping me creating and challenging myself with new ideas! I am happy and excited to share this piece with you as I have been wanting to make it a reality for well over two years.
Our funding goal is met and everything is moving along now so I can continue with the interior!
I will be sharing all of our stretch goal pieces as I complete them in the coming weeks, and will hopefully have something new every single week to showcase with full photos and renders.
As the campaign progresses, I will be available anytime to answer questions, comments and share new developments. I will be working as much as I can over the next 24 days to get all the interior pieces done and ready to go with the main file delivery.
Following the campaign, Backerkit will also launch and provide everyone with the details and dates for file distribution! And I will be updating you along the way.
Thank you all so much for your support and excitement for this piece. More to come soon!